Configure availability for a specific time span
In this article, we explain how you can configure your availability for a specific period of time. This allows you to adjust your bookability within a defined date range.
This is useful for temporary projects, sales promotions, event calendars, or seasonal services.
 1 / 4
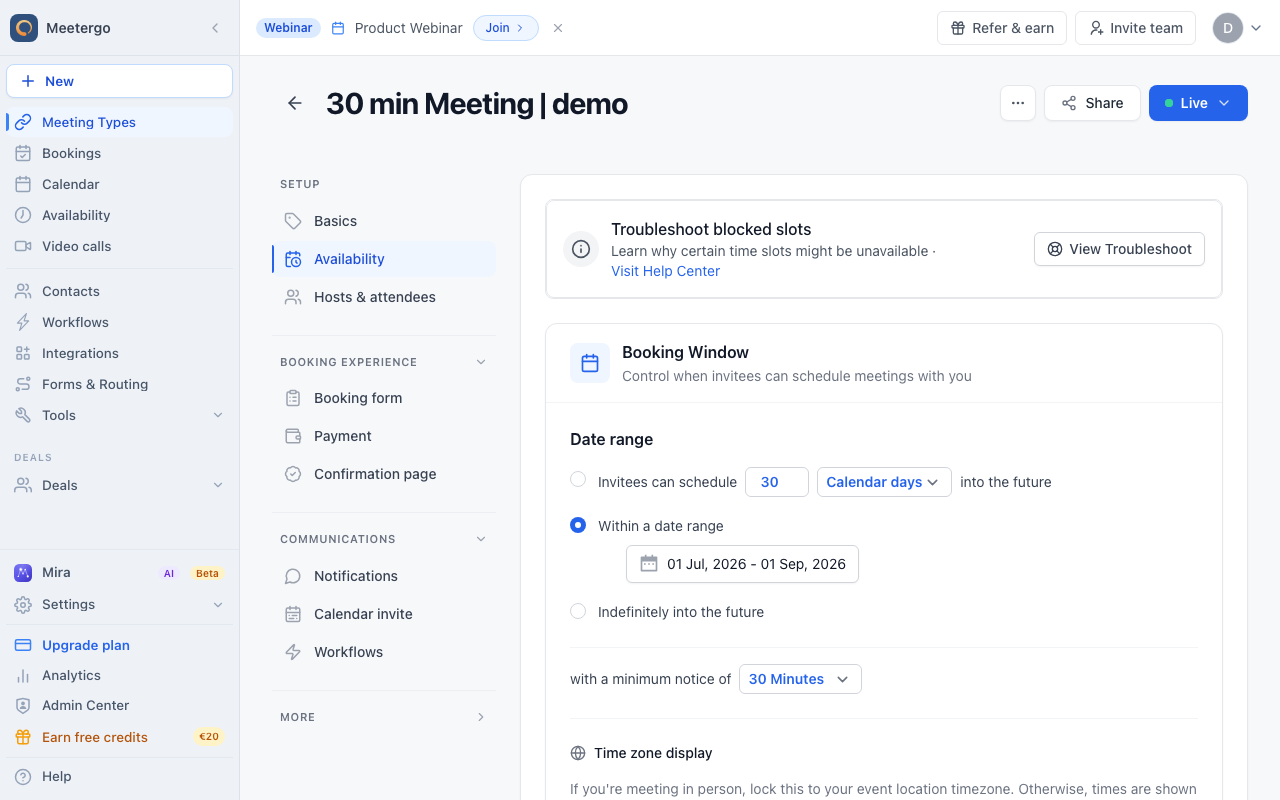
1 / 4The Date range section sits inside the meeting type Availability settings, together with minimum notice, duration, intervals, and schedule selection.
Open meeting type availability
Find Booking Window
The Date range section sits inside the meeting type Availability settings, together with minimum notice, duration, intervals, and schedule selection.
Set the booking date range
Choose Within a date range
Select Within a date range so invitees can only book between the configured start and end dates.
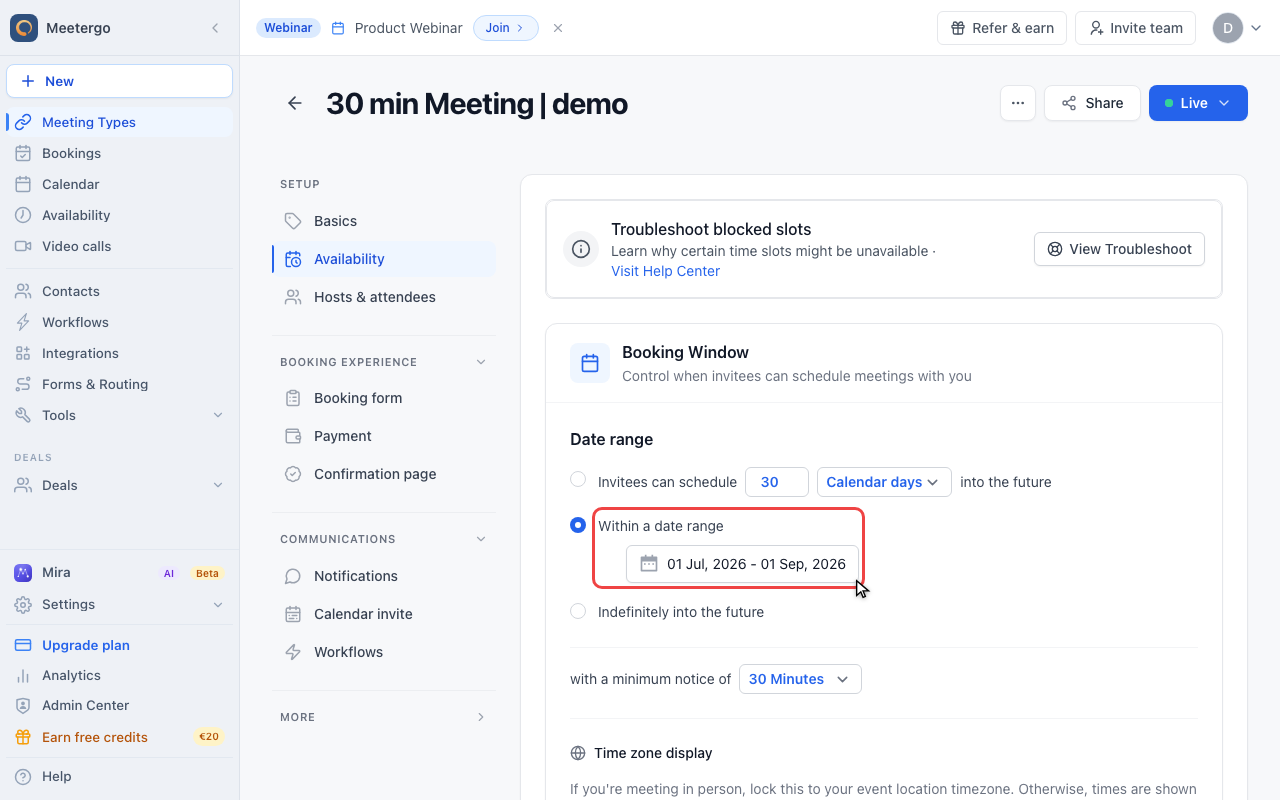
Check the selected dates
Set the start and end date for the campaign, project, or season. Save only after the displayed range is correct.

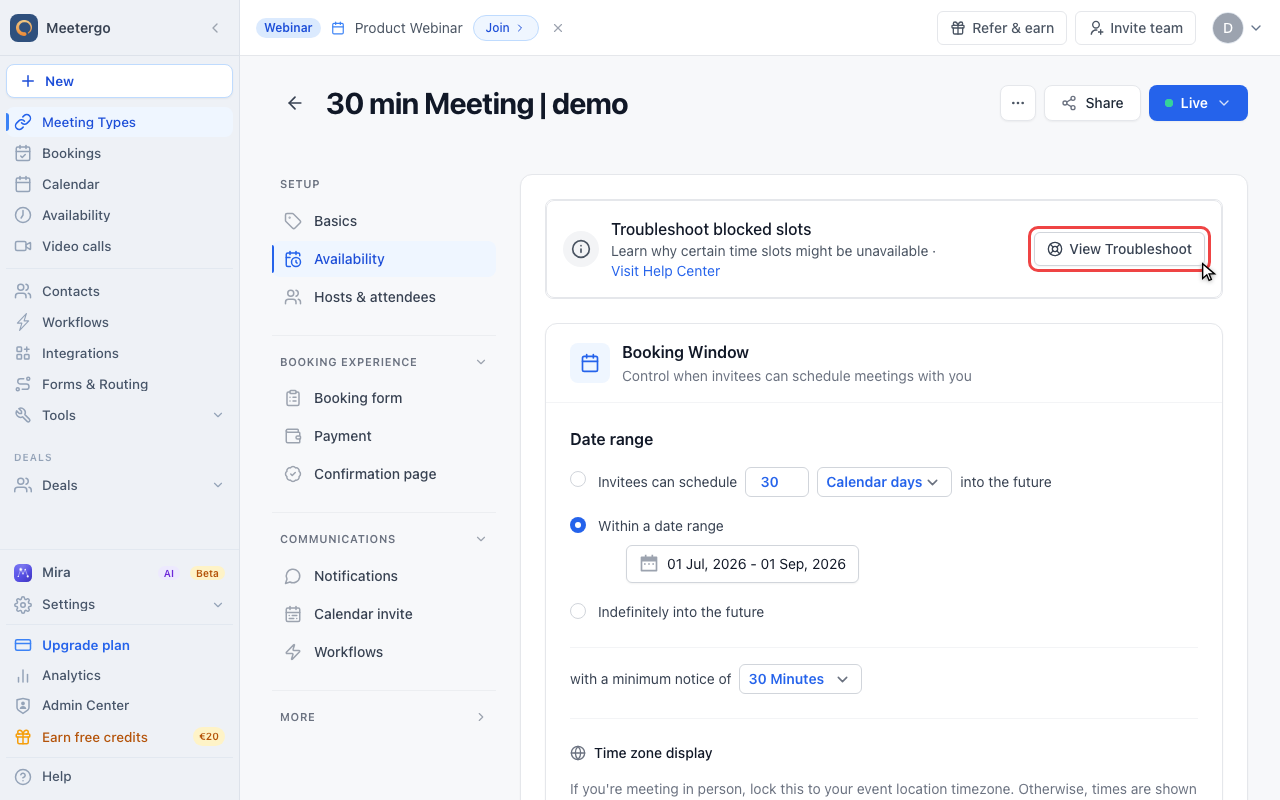
Preview and troubleshoot
Use troubleshooting if slots look wrong
If the booking page does not show the expected slots, use Troubleshooting to see which rule or calendar event is blocking them.
How to configure your schedule for a specific period
Open the meeting type, switch to Availability, and set Date Range to Within a date range. Choose the start and end dates for the period when this booking link should accept appointments, then save your settings.
If you want to change the actual hours inside that period, adjust the meeting type availability, buffers, booking limits, or time slot intervals as needed.
Finally, use Preview to view your booking page. If slots aren't displaying as expected, use Troubleshoot to see why specific time slots are not showing.
Was this article helpful?
Let us know if this article answered your questions.