
Booking Confirmation: Why It Happens and How to Turn It Off
Find out which setting makes attendees or hosts confirm a booking again, change the confirmation deadline, resend a confirmation email, and switch booking confirmation off for your whole company or a single meeting type.
By default, bookings are confirmed immediately. If a booking stays pending until someone clicks a link, one of two separate settings is switched on:
- Require attendees to confirm bookings (Double Opt-In) — the attendee has to confirm
- Require hosts to confirm bookings — the host has to approve
Each one has a company default under Settings, an override per meeting type, and the same expiry deadline. The walkthrough below covers all three places. For the full setup of each feature, see Double Opt-In and Host Approval.
Set the company default
Open Settings
Open Settings at the bottom left of the sidebar.
Choose Legal & privacy
Choose Legal & privacy. This section is only visible to company admins.
Find Booking confirmation flow
Scroll to the Booking confirmation flow card. The diagram at the top of it always shows the flow your current settings produce, so it answers "which setting is on?" before you read a single switch.
Switch attendee confirmation on
The first switch is Double Opt-In. With it on, the attendee gets an email with a confirm button and the booking only exists once they press it.
Switch host approval on
The second switch is host approval. With it on, you get the request and decide. Turn both on and the diagram gains both steps: the host approves first, then the attendee confirms.
Read the diagram
With both switches off the diagram is two boxes and reads "bookings are confirmed immediately". Every extra step you switch on appears here, in the order it happens.
Set how long a request stays open
Booking request expiry time only appears once one of the switches is on. It offers 24, 48, 72 hours (the default), 96 hours, 1 week or 2 weeks, and the same deadline covers both features.
Save the changes
Nothing takes effect until Save. The button stays greyed out until something on the page actually changed.
Find requests that are waiting
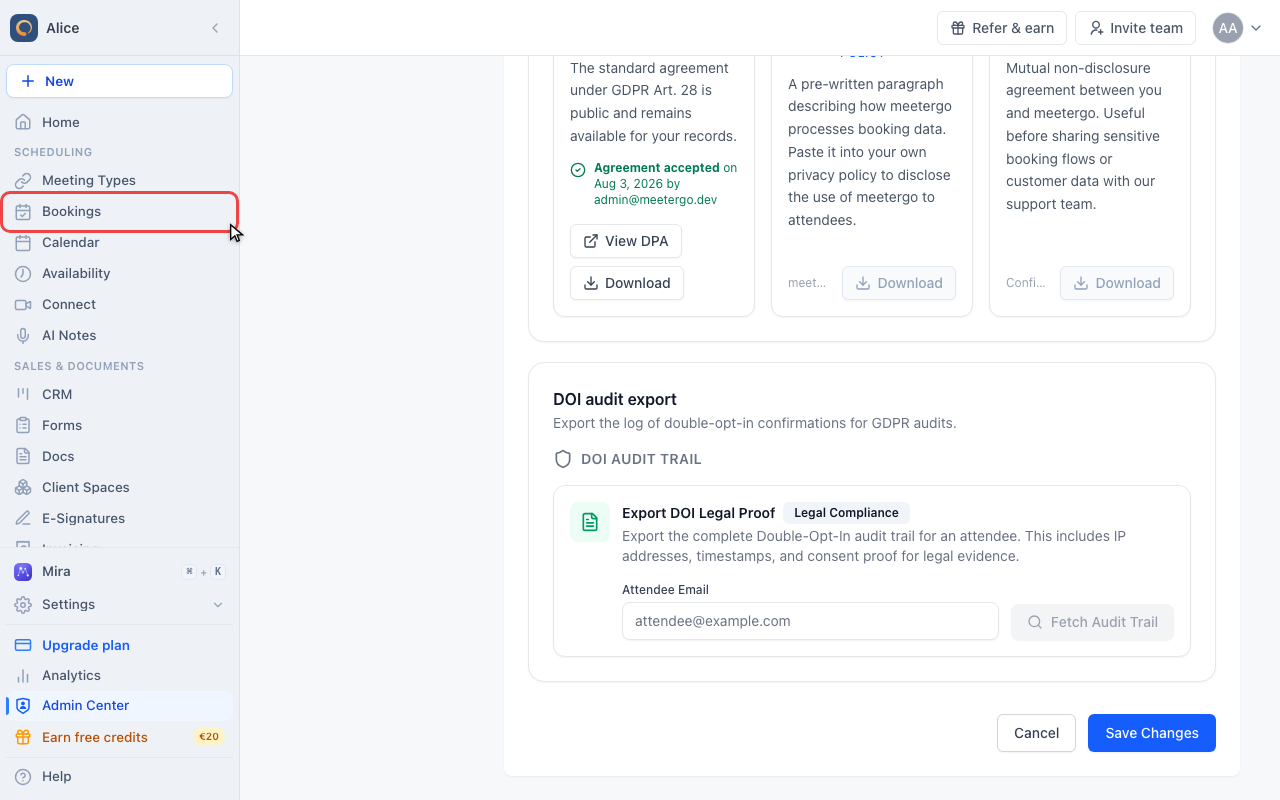
Open Bookings
Requests that are already waiting are not affected by anything you change here. They stay pending until they are confirmed, declined, or expire, and they all live under Bookings.
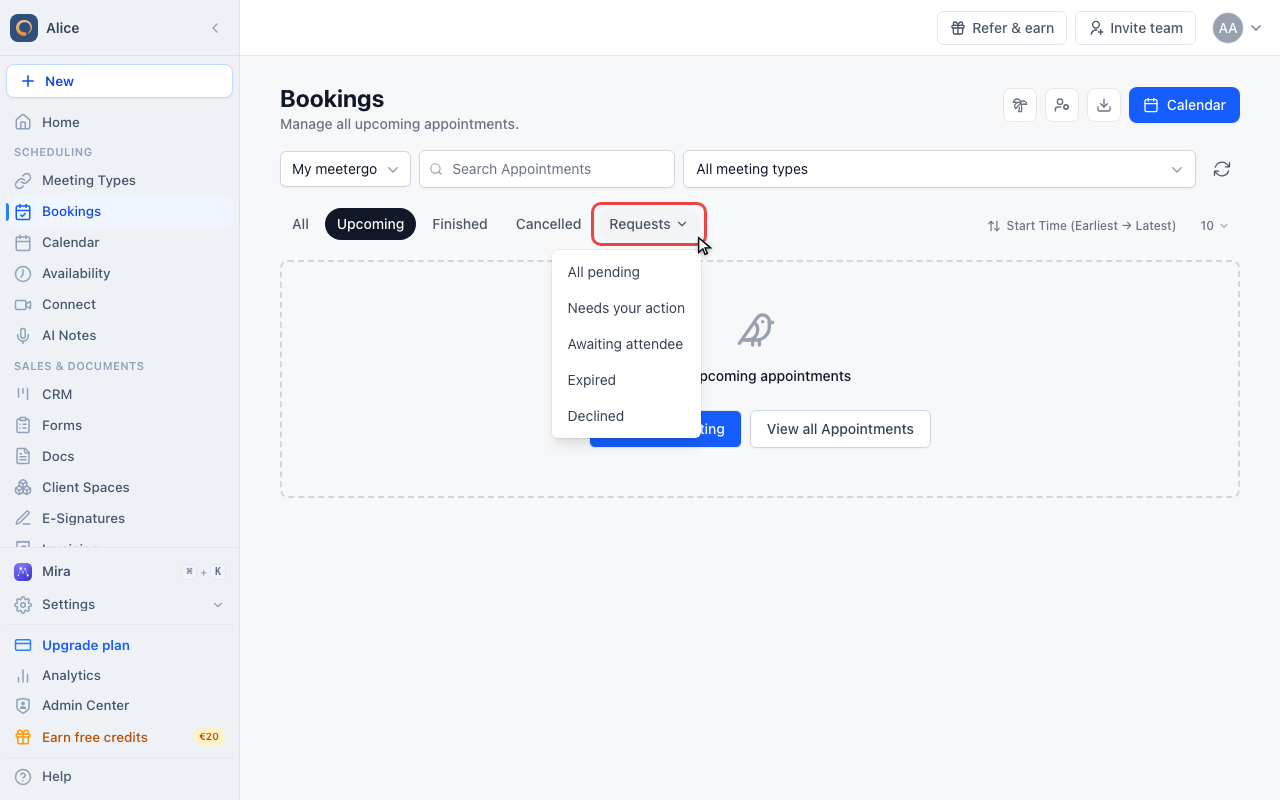
Open the Requests filter
Requests is the fifth pill in the toolbar, and it is a menu rather than a tab. Pending requests never appear under All, Upcoming, Finished or Cancelled.
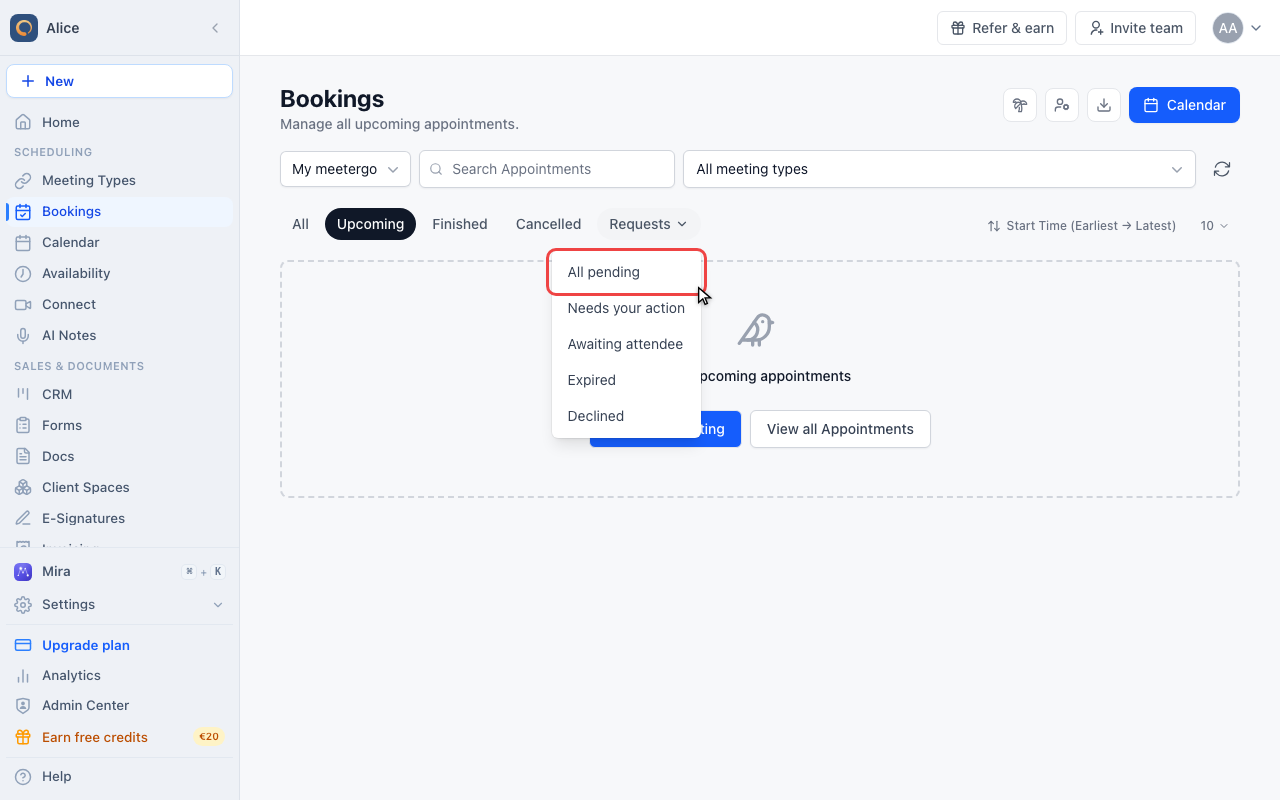
Pick All pending
Five choices: All pending, Needs your action (waiting for a host), Awaiting attendee (waiting for a confirmation click), Expired and Declined. The chosen one is shown in brackets on the pill.
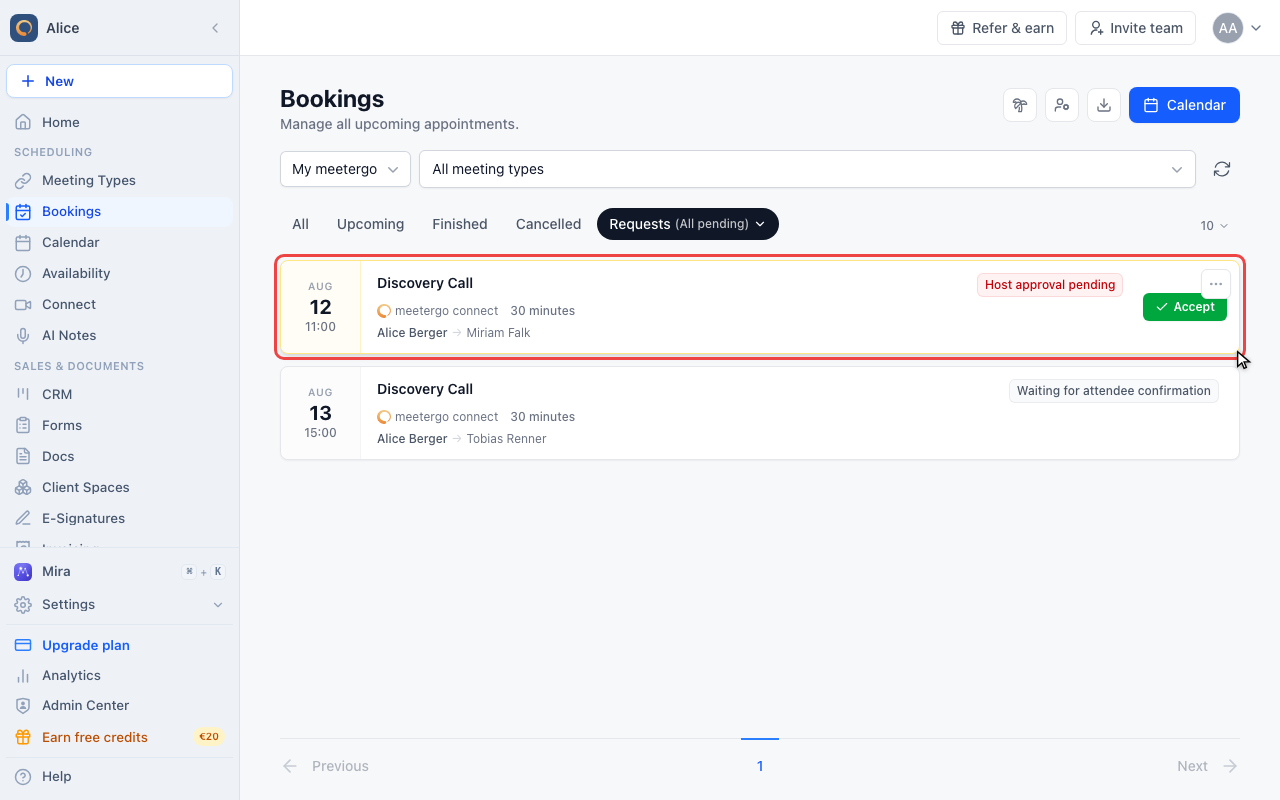
Approve a request waiting on you
A request waiting for host approval is outlined in amber, carries a "Host approval pending" badge and has an Accept button on the row. Accepting confirms the booking straight away.
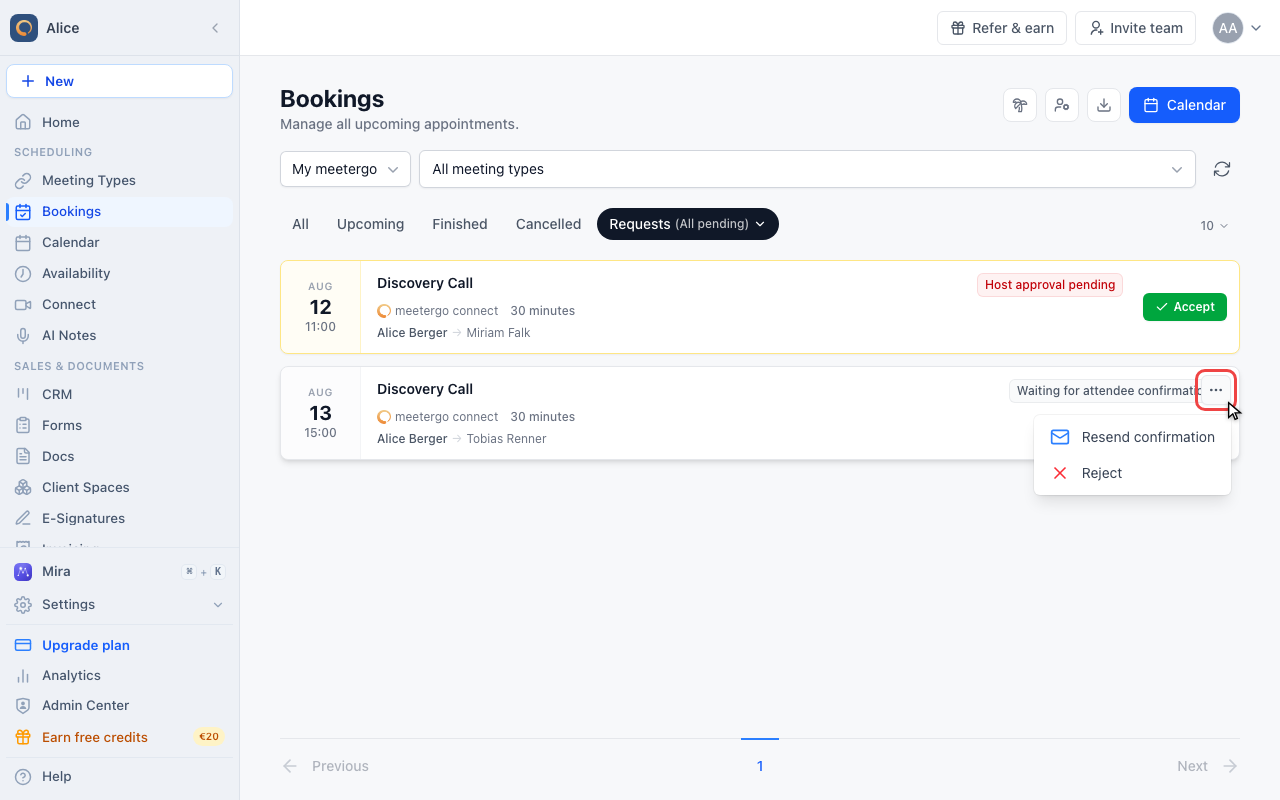
Resend an attendee confirmation
A request waiting on the attendee has no Accept button, because there is nothing for you to approve. Its row menu offers Resend confirmation, which sends the same email again.
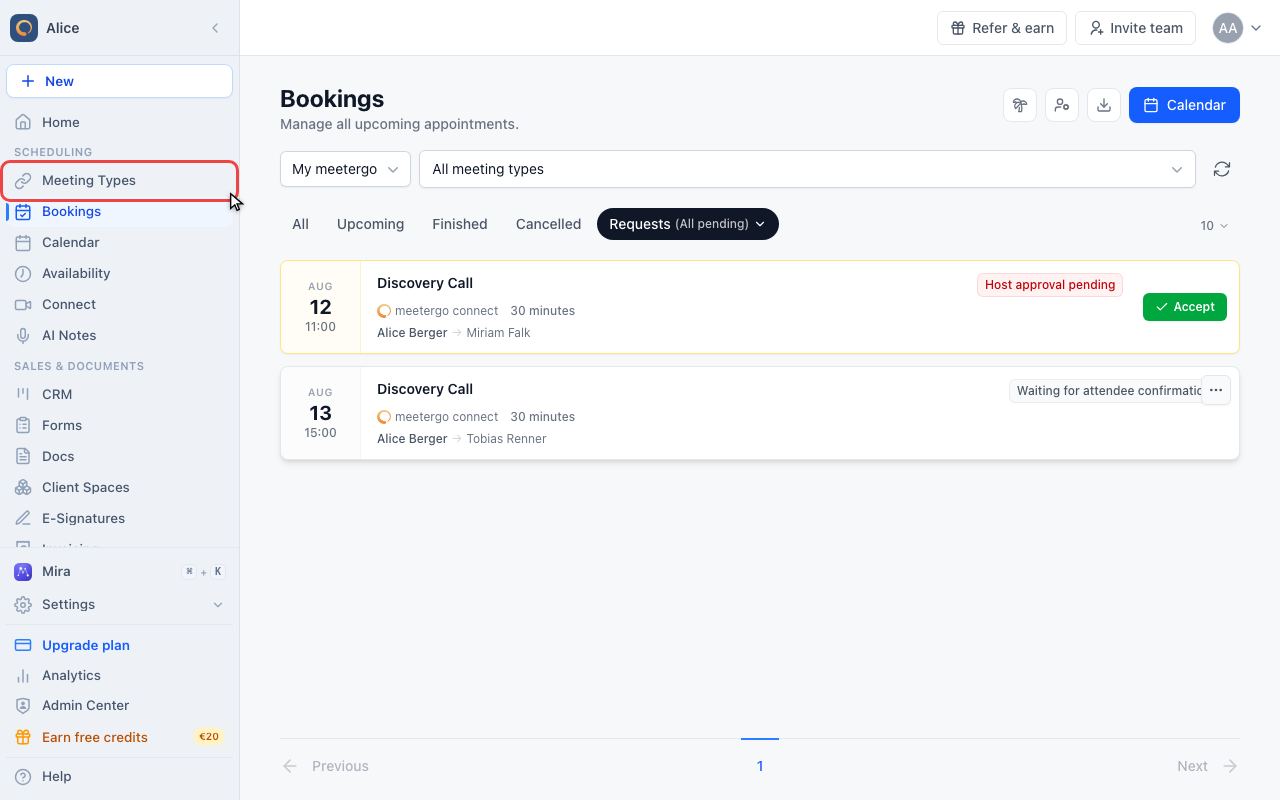
Override one meeting type
Open Meeting types
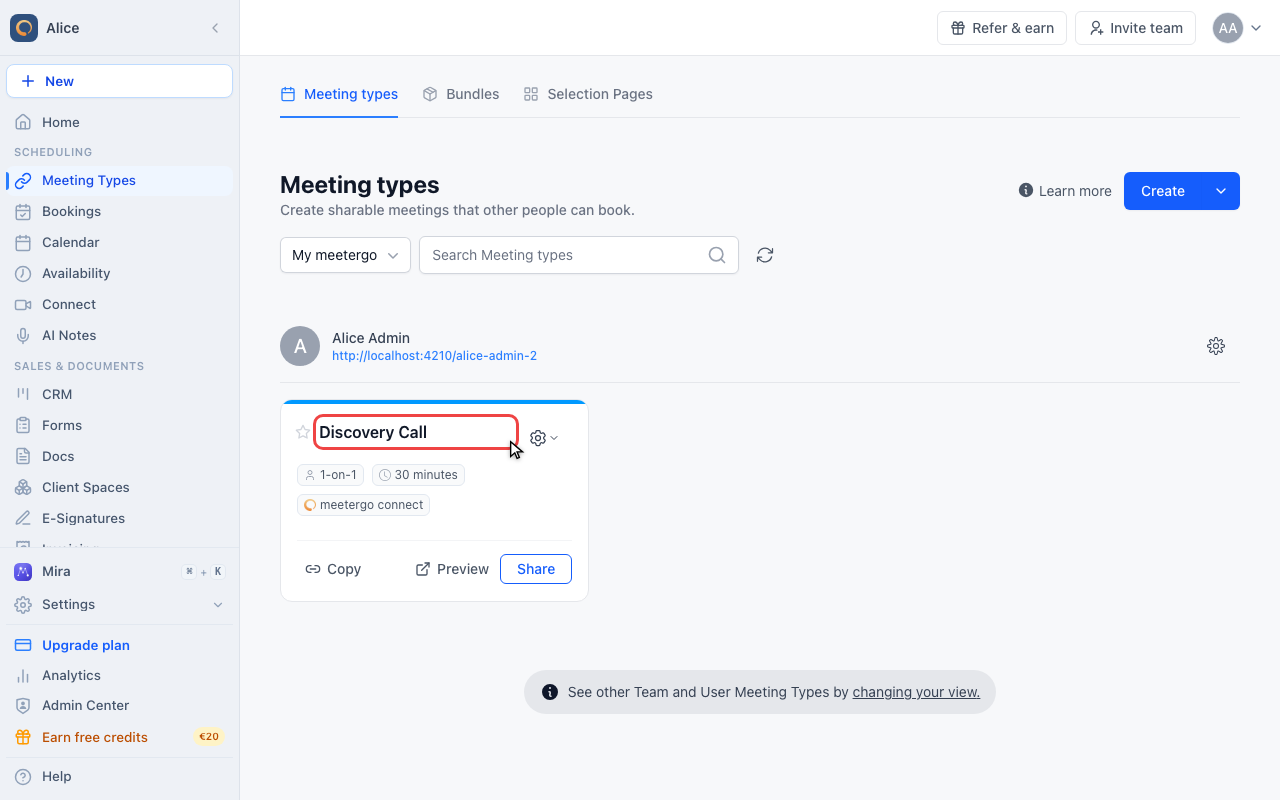
A single meeting type can ignore the company default in either direction. That override is in the meeting type editor, not under Settings.
Open the meeting type
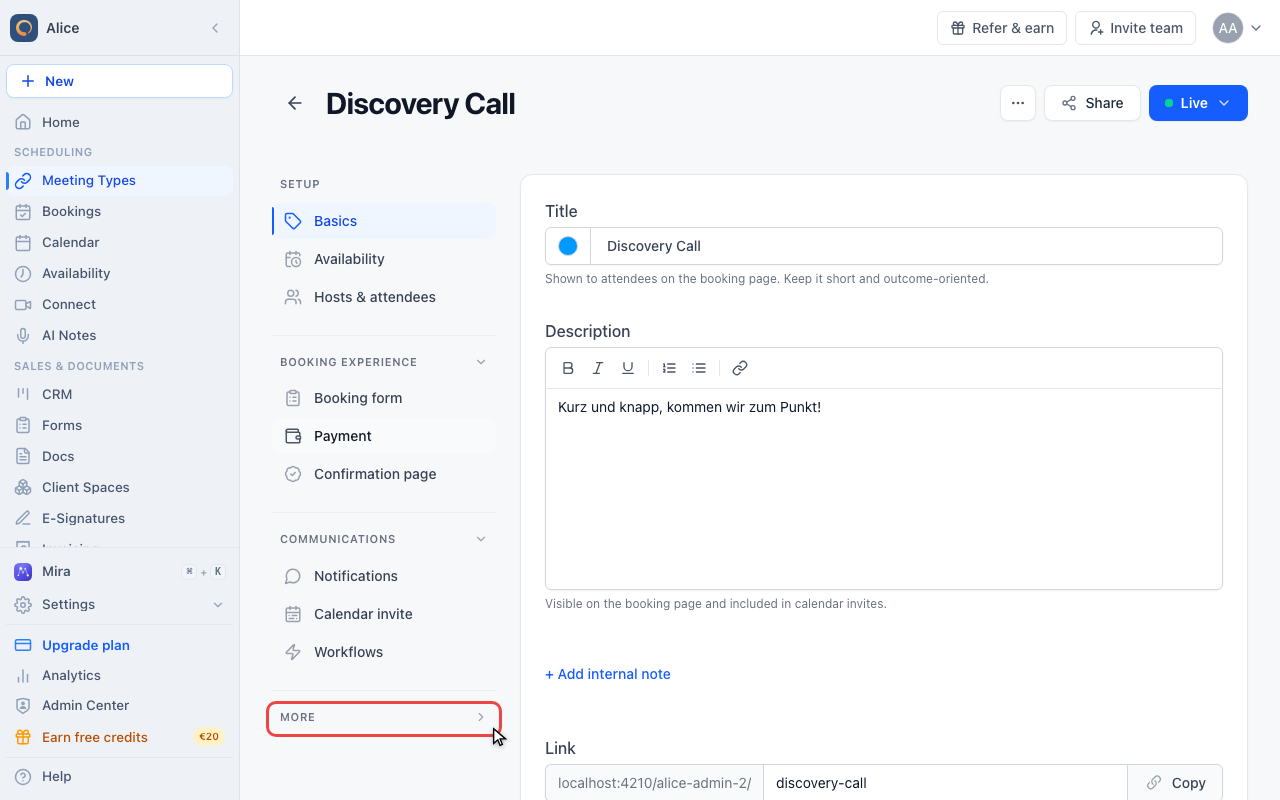
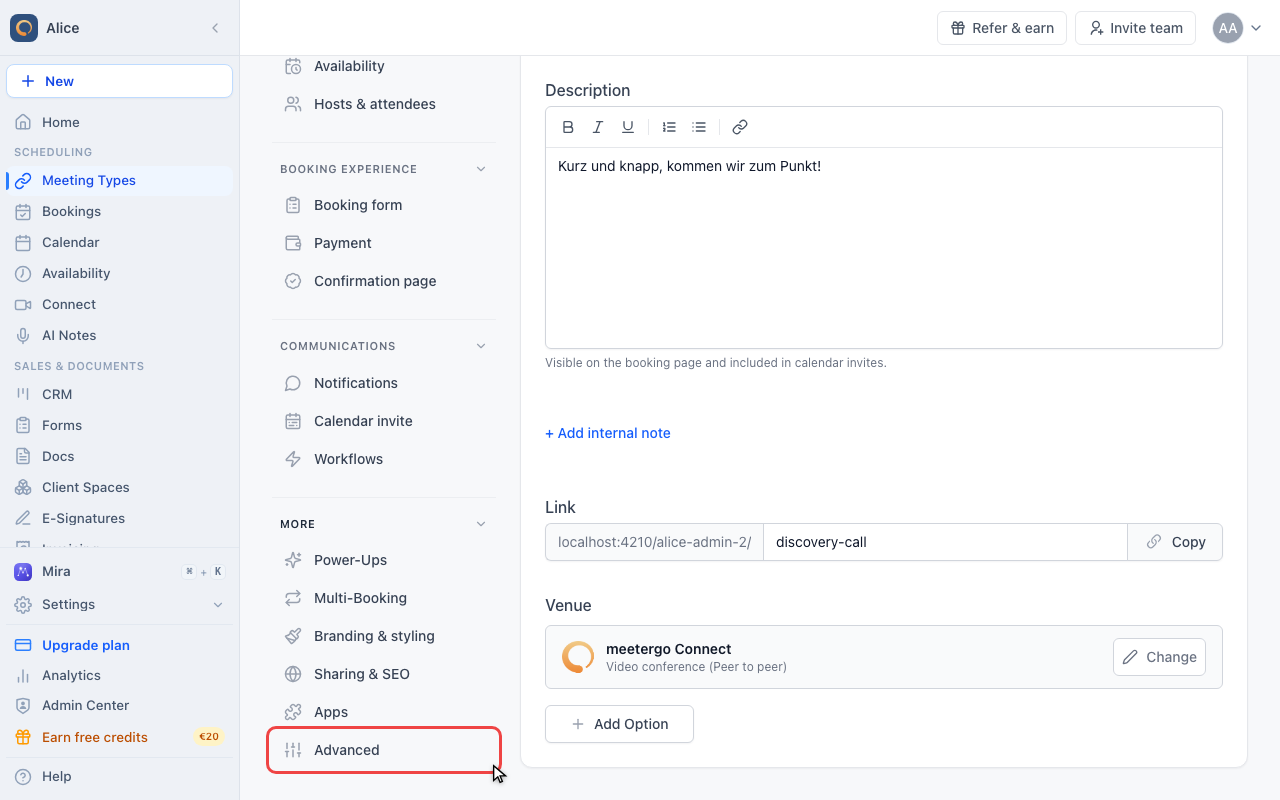
Expand More
In the editor sidebar, open the More group. It is collapsed until you open it, which is the usual reason Advanced looks missing.
Click Advanced
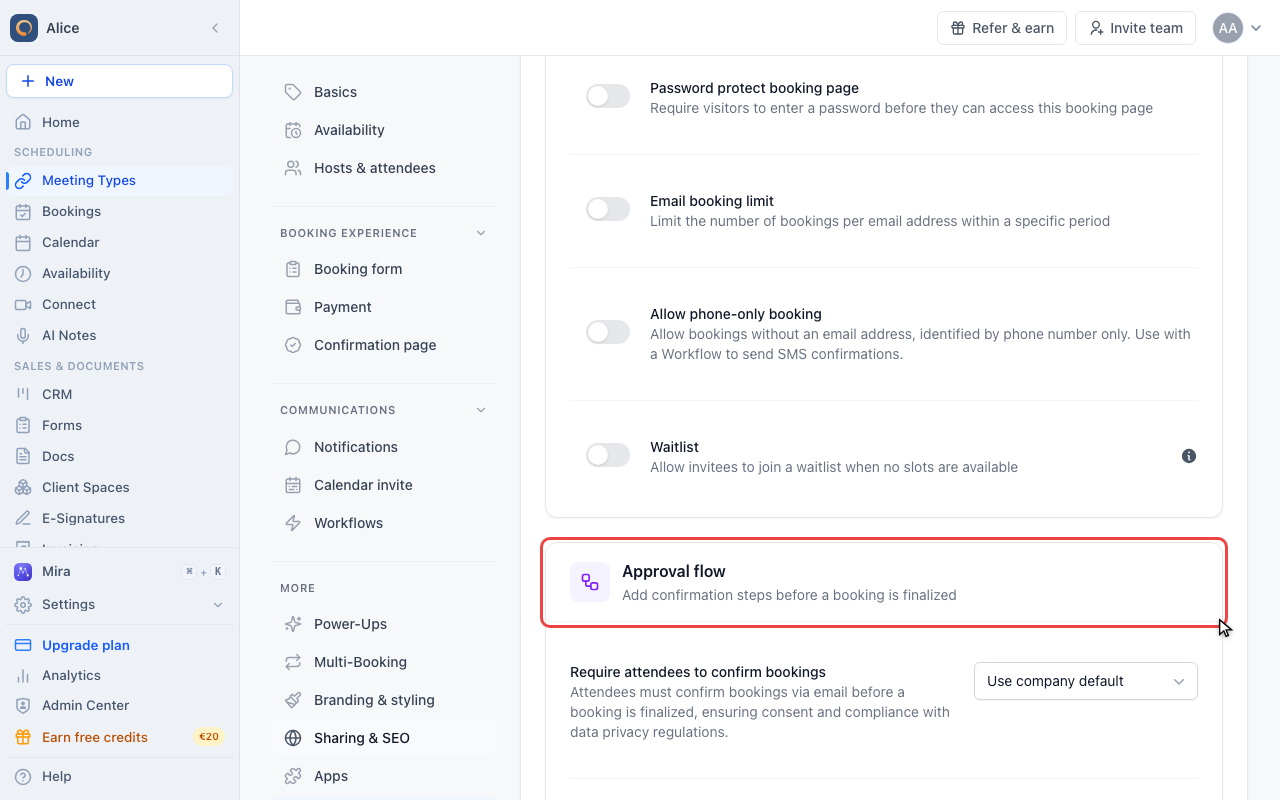
Find the Approval flow card
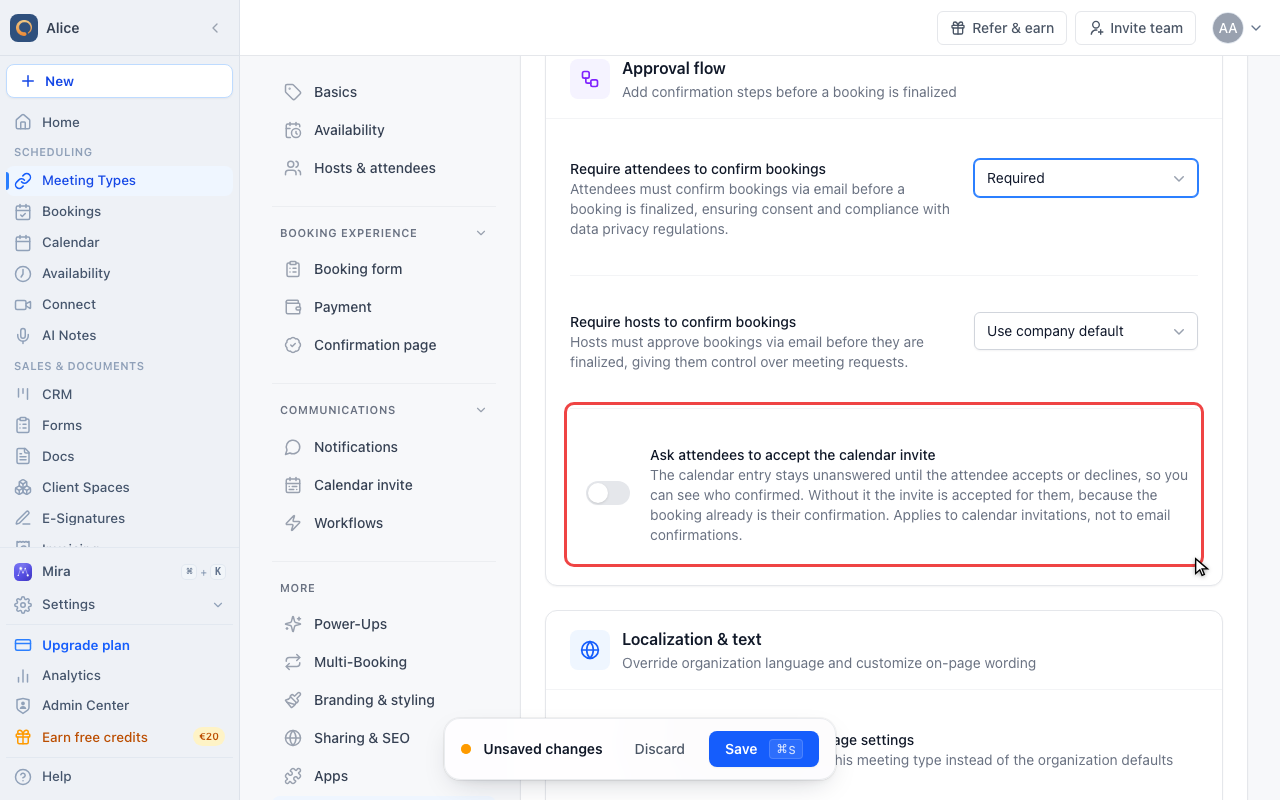
Approval flow is the second card on the Advanced tab, right under Booking access & limits. It holds the same two settings as Settings, plus one that is often mistaken for them.
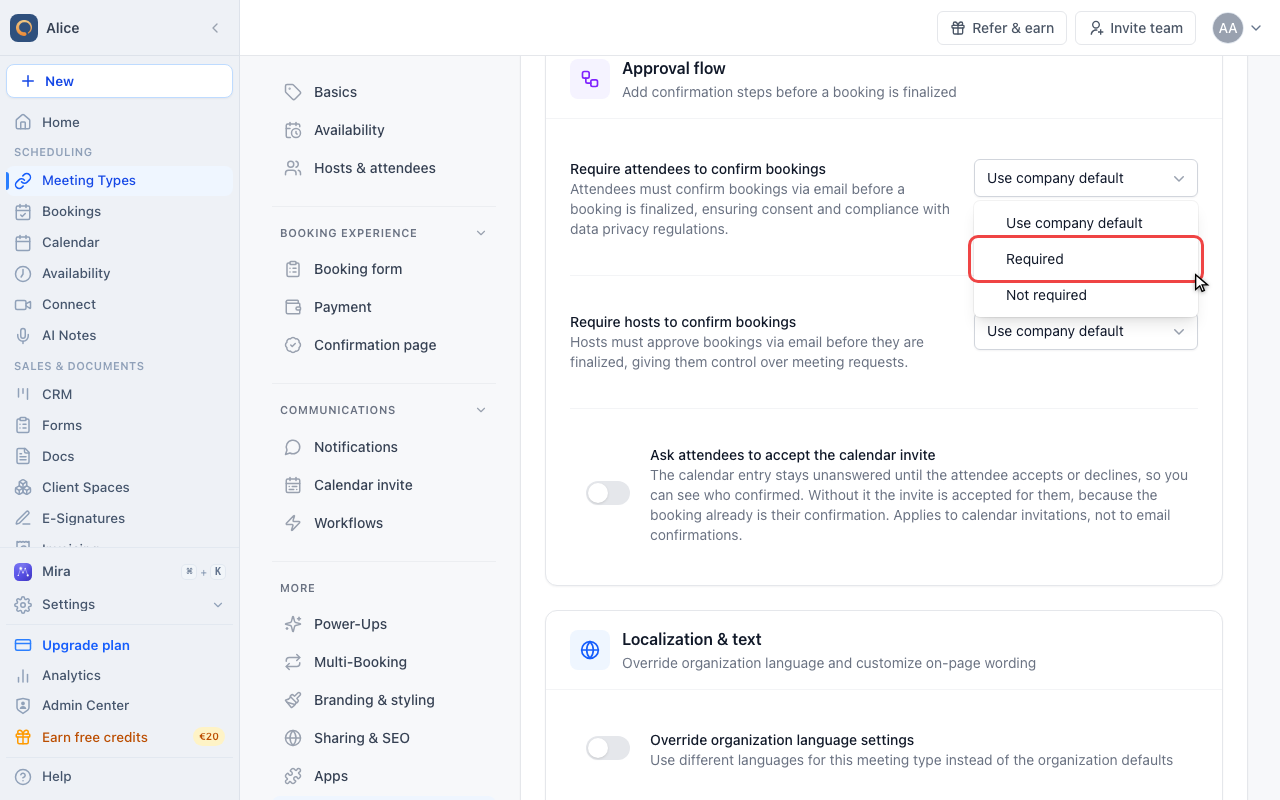
Choose Required
Each setting is a dropdown with three states rather than a switch: Use company default, Required, Not required. Required and Not required both override the company setting, so a meeting type on Required keeps asking for confirmation even after you switch the company default off. That is the usual reason confirmation emails keep arriving.
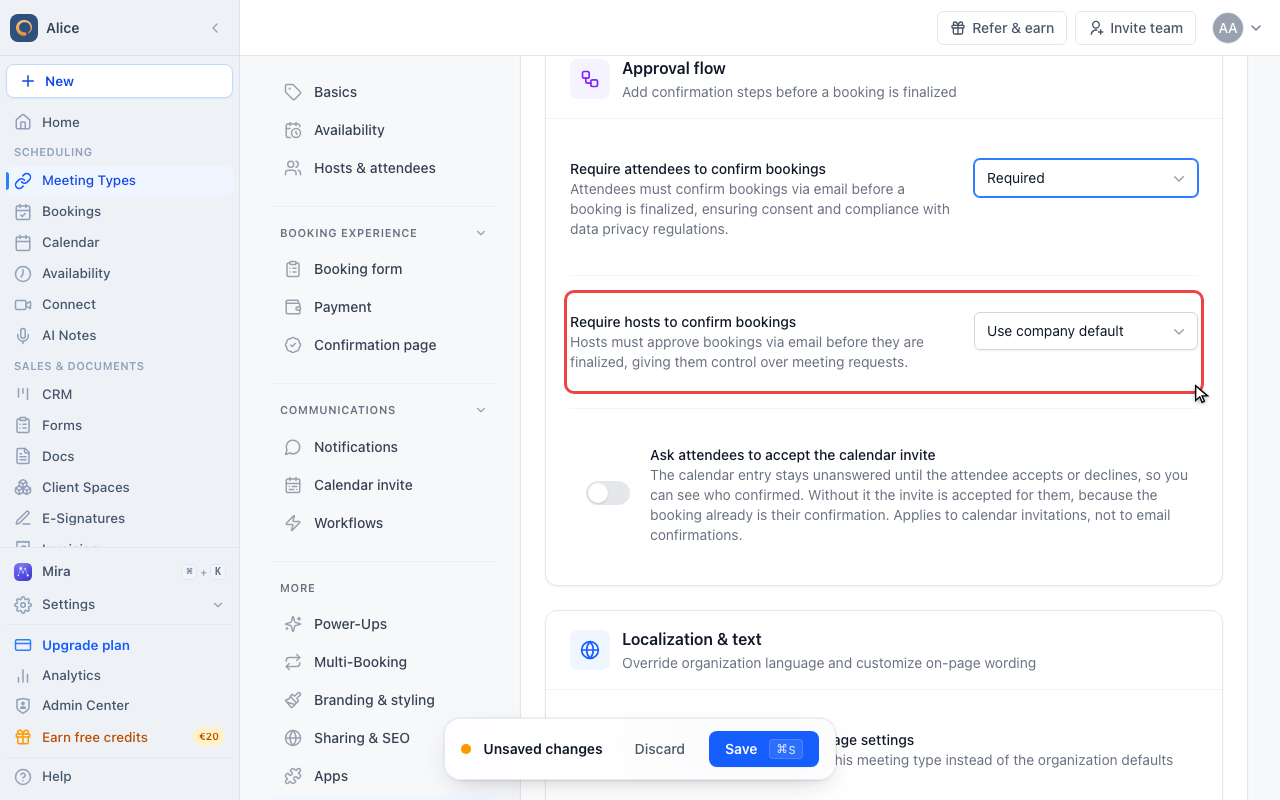
Leave host approval on the default
The two settings are independent. Leaving this one on Use company default means it follows whatever Settings says, today and after any later change there.
Do not confuse the calendar invite switch
The third row in the same card is about the calendar entry, not about the booking. It decides whether the invite arrives unanswered so you can see who accepted. It never holds a booking as a request.
Save the meeting type
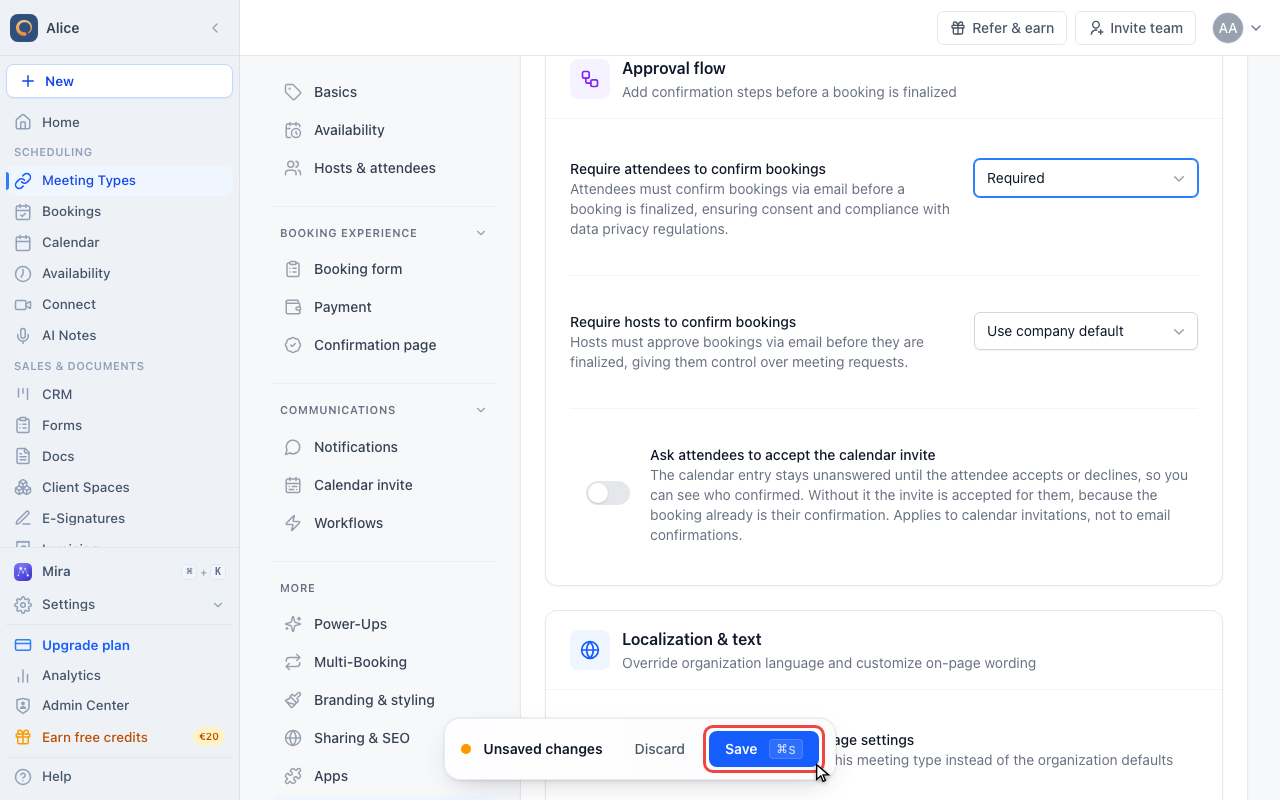
The override only applies once you save. Leaving the editor first discards it.
Which setting is active?
| What you see | Setting responsible |
|---|---|
| The attendee gets an email with a confirm button, and the booking only appears once they click it | Double Opt-In |
| You get an email with a confirm link, and a request appears under Bookings → Requests | Host approval |
| Both happen, one after the other | Both are on. The host approves first, and only then is the attendee asked to confirm |
The quickest check is the diagram at the top of the Booking confirmation flow card under Settings. It always draws the flow your current company settings produce, including the deadline.
Where each setting lives
| Scope | Where | Values |
|---|---|---|
| Whole company | Settings → Legal & privacy → Booking confirmation flow | Two switches, on or off |
| One meeting type | The meeting type → More → Advanced → Approval flow | Use company default, Required, Not required |
Required and Not required override the company setting. A meeting type set to Required keeps asking for confirmation even after you switch the company setting off. That is the usual reason confirmation emails keep arriving after you thought you had disabled it.
The per-meeting-type override needs the Light plan or higher. On lower plans the dropdown carries a lock badge, and picking anything other than Use company default opens an upgrade prompt instead of changing the value.
Turn confirmation off completely
- Switch both toggles off under Settings → Legal & privacy, then press Save
- Open each meeting type's Advanced tab and make sure both Approval flow dropdowns are on Use company default or Not required, then save the meeting type
New bookings are then confirmed immediately. Requests that were already waiting are unaffected.
The confirmation deadline
Booking request expiry time sits in the same card and only appears once one of the two switches is on. Choose 24, 48, 72 hours (the default), 96 hours, 1 week, or 2 weeks. The same deadline covers both features, and it is what the diagram reports as "up to 72h to confirm".
While a request waits, its time slot is reserved: the booking page stops offering it and a second booking on the same slot is rejected. Once the deadline passes, the request is marked expired, no appointment is ever created, and the slot becomes bookable again.
Expiry is processed once an hour rather than to the second, so a request can still be confirmable for a few minutes past its deadline. A warning email goes out about two hours before it lapses, and a request whose meeting time has already passed is expired regardless of the deadline.
Requests that are already waiting
Pending requests live under Bookings, behind the Requests pill. They are not in the All, Upcoming, Finished or Cancelled tabs.
| Filter | Shows |
|---|---|
| All pending | Every request still waiting |
| Needs your action | Waiting for a host to approve |
| Awaiting attendee | Waiting for the attendee to click their confirmation link |
| Expired | Requests that ran past the deadline |
| Declined | Requests a host rejected |
A request waiting on a host is outlined in amber and carries an Accept button. Every request also has a ⋯ menu with Reject, and requests waiting on the attendee add Resend confirmation there. Attendees can still use the confirmation link they already received.
FAQ
The attendee never got the confirmation email. Can I send it again?
Yes. Open Bookings, choose Requests → Awaiting attendee, click the ⋯ menu on the request and choose Resend confirmation. If it still doesn't arrive, ask them to check their spam folder and see Troubleshooting Email Delivery Issues.
Can I decline a request from the email?
No. The host email carries a single confirm link, and the page it opens only offers Confirm. Rejecting is done in the dashboard, from the ⋯ menu on the request under Bookings → Requests.
Is the time slot blocked while waiting for confirmation?
Yes, the slot is held so nobody else can take it. If the request is rejected or expires, the slot becomes bookable again.
Who gets the approval email on a team meeting type?
One host. The approval request is sent to the first host on the booking, even for round robin or multi-host meeting types. Everyone on the team still sees the request under Bookings → Requests and can accept it there.
Can I customize the confirmation emails?
Yes. Both the Double Opt-In email and the host approval email have their own email templates.
Why does a booking I entered myself not need attendee confirmation?
Appointments a host creates from the dashboard skip Double Opt-In on purpose. You already arranged the appointment, so there is nothing for the attendee to opt in to. Host approval still applies.
The Approval flow card has a third setting. Does it hold bookings too?
No. Ask attendees to accept the calendar invite only changes the calendar entry: the invite arrives unanswered so you can see who accepted it. The booking itself is confirmed either way.
My redirect to my own thank you page stopped working after I turned confirmation on
With Double Opt-In, the attendee is not redirected when they submit the form. They first see meetergo's "confirm your email" page, and the redirect fires after they click the link in the email. With host approval the redirect still fires immediately, before you have approved. See When the redirect fires.
Related Articles
Was this article helpful?
Let us know if this article answered your questions.